The History Behind Red Velvet
The origins of red velvet desserts can be traced back to the Victorian era. During this time, cakes were often made with ingredients like buttermilk and vinegar to create a softer, finer crumb. The addition of cocoa powder later gave the cake a mild chocolate flavor. Over time, red food coloring became a defining characteristic of red velvet, giving it the iconic hue that we know today. Although red velvet cake has remained a classic favorite, red velvet brownies offer a more indulgent and simplified twist on this beloved dessert.
Evolution of Red Velvet in Popular Culture
Red velvet’s transformation from a luxurious cake to a staple dessert has been fascinating. In the early 1900s, the cake became even more popular when food coloring companies started promoting their products through red velvet recipes. The rise of red velvet as a trendy dessert can also be attributed to its appearance in high-end bakeries and as a favorite during holidays like Valentine’s Day and Christmas. Over time, red velvet has made its way into cookies, cheesecakes, and of course, brownies.
What Makes Red Velvet Brownies Special?
The magic of red velvet brownies lies in the combination of their flavor and presentation. Unlike traditional brownies, which are rich and intensely chocolatey, red velvet brownies have a more subtle cocoa flavor with a tangy twist. This tang comes from the vinegar and buttermilk (or, in some cases, buttermilk substitutes) in the batter. The result is a slightly sweet, complex flavor that’s different from typical chocolate desserts.
Flavor and Texture
What really sets red velvet brownies apart is their texture. They’re dense and chewy like a brownie, but the tanginess and slight fluffiness associated with red velvet cake are still present. The incorporation of cocoa powder gives them a subtle chocolate flavor, which contrasts beautifully with the tang from the vinegar. This balance makes them less overwhelmingly sweet, making them enjoyable even for those who aren’t fans of overly sugary desserts.
Ingredients Breakdown for Red Velvet Brownies
Crafting the perfect red velvet brownies requires attention to the specific roles that each ingredient plays. The right balance of ingredients ensures a rich flavor, vibrant color, and perfect texture.
Core Ingredients
- Unsalted Butter: Butter provides the fat needed for moisture and richness in brownies. Using unsalted butter allows you to control the salt content of the recipe.
- Granulated Sugar: Sugar not only adds sweetness but also contributes to the chewy texture of the brownies.
- Cocoa Powder: Although not as prominent as in traditional brownies, cocoa powder adds a mild chocolate flavor that complements the tang of red velvet.
- Red Food Coloring: This is essential for achieving the signature red color. Gel food coloring is recommended because it produces a more vibrant color without thinning the batter.
- Vinegar: Vinegar enhances the cocoa flavor and works with the baking soda to create a light, slightly tangy texture.
- All-Purpose Flour: Flour provides structure to the brownies. Using too much can result in a cakey texture, while too little can make them too gooey.
- Eggs: Eggs bind the ingredients together and add moisture, ensuring a soft and chewy brownie.
- Vanilla Extract: A touch of vanilla adds warmth and depth to the flavor.
Optional Mix-ins and Variations
If you want to get creative with your red velvet brownies, there are plenty of options to enhance the flavor and texture:
- White Chocolate Chips: These add a creamy, sweet contrast to the tangy brownies.
- Nuts: Pecans or walnuts provide a crunchy texture that balances the softness of the brownies.
- Cream Cheese Swirl: Adding a swirl of cream cheese to the batter creates a tangy, rich layer that complements the sweetness of the brownie.
You can also experiment with seasonal spices like cinnamon, nutmeg, or even a dash of pumpkin spice to give the brownies a holiday twist.
Step-by-Step Recipe Guide for Red Velvet Brownies
Creating perfect red velvet brownies requires a little attention to detail. Follow these steps carefully for the best results.
Preparation and Equipment
Before starting, make sure you have the necessary equipment on hand:
- 8×8-inch Baking Pan: This size is ideal for ensuring even baking.
- Mixing Bowls and Whisk: For combining your ingredients smoothly.
- Parchment Paper: Lining your pan with parchment paper makes it easy to remove the brownies after baking.
Mixing the Batter

- Preheat the Oven: Set your oven to 350°F (175°C). Line your baking pan with parchment paper, allowing the edges to hang over the sides for easy removal later.
- Cream the Butter and Sugar: Beat the softened butter and sugar together until the mixture becomes light and fluffy. This step is essential for achieving the right texture.
- Add the Eggs: Beat in the eggs one at a time, ensuring each egg is fully incorporated before adding the next.
- Mix in Cocoa and Vinegar: Sift in the cocoa powder and add the vinegar. These ingredients help develop the signature red velvet flavor.
- Add Red Food Coloring: Gradually mix in the red food coloring until the batter reaches the desired color. Be careful not to overdo it—just enough to give a vibrant red hue.
- Fold in the Flour: Slowly add the flour and fold it into the batter. Avoid overmixing, as this can result in tough brownies.
Baking the Brownies
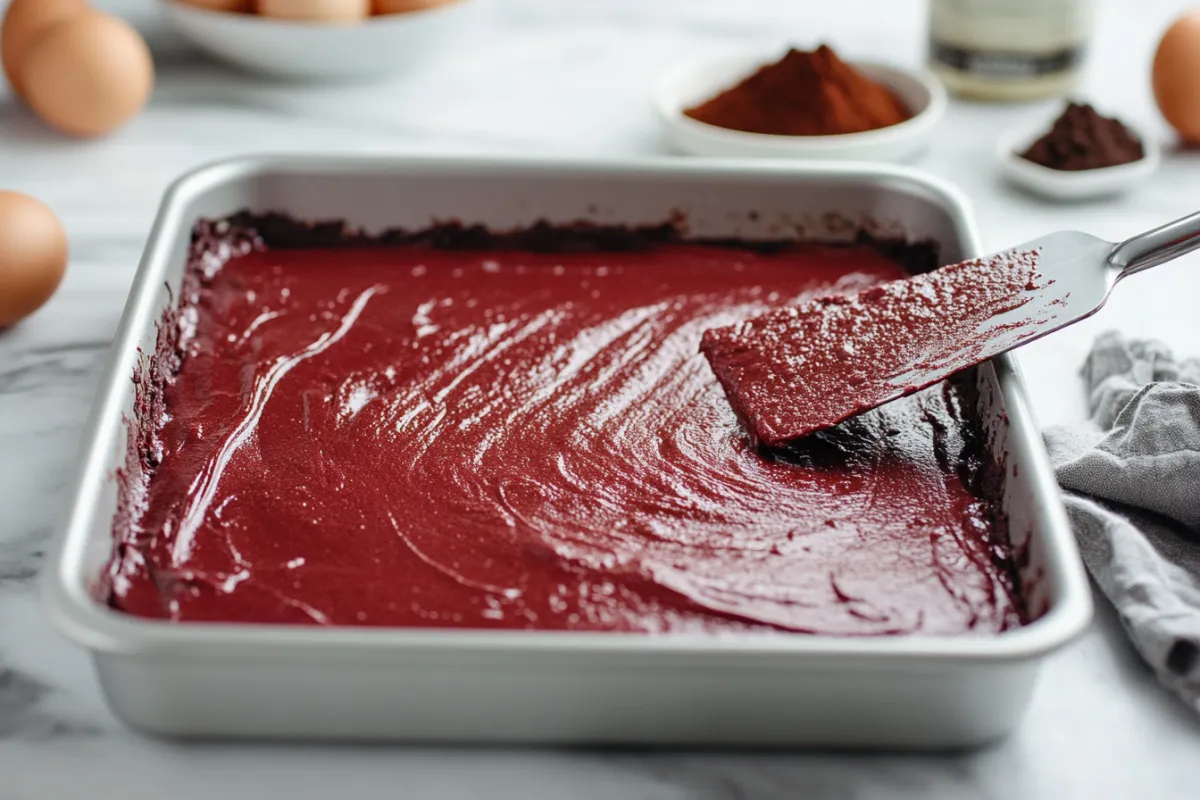
Once your batter is ready, pour it into the prepared baking pan and spread it evenly.
- Bake for 30-35 Minutes: Bake until a toothpick inserted into the center comes out with moist crumbs. The goal is a fudgy texture, so avoid overbaking.
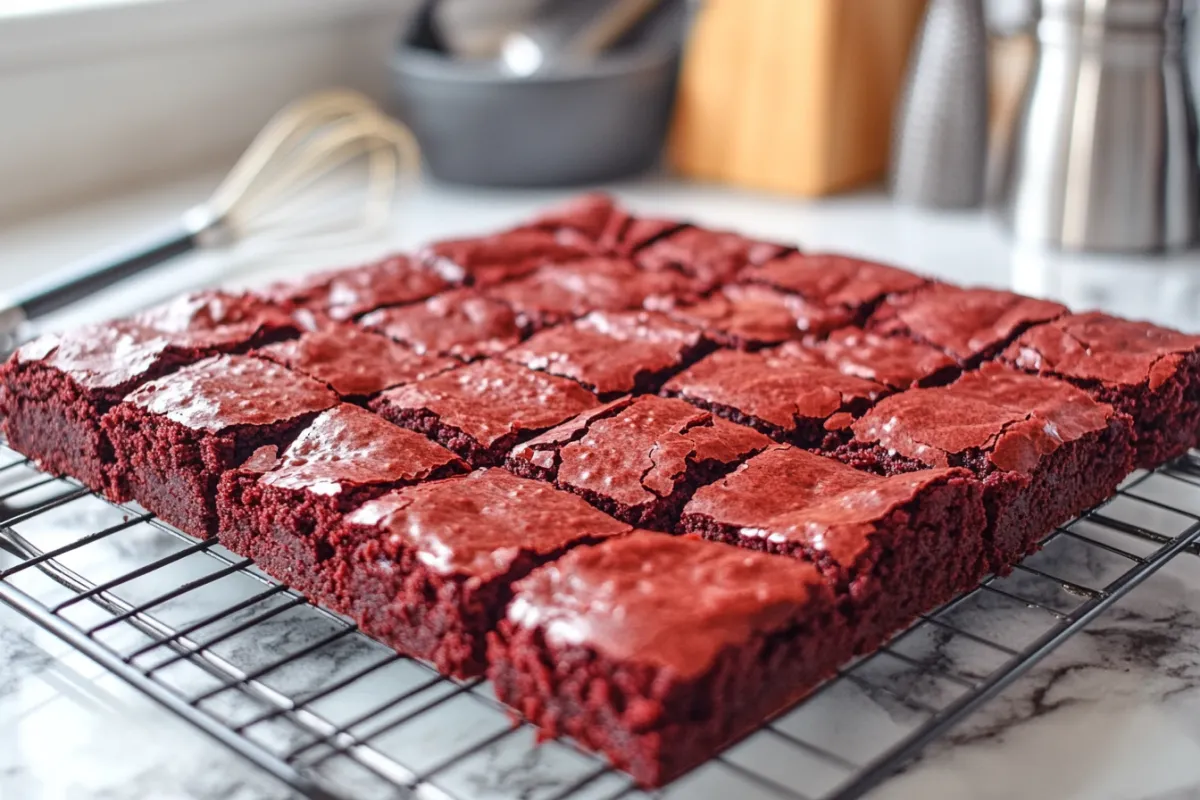
- Cooling: Allow the brownies to cool completely in the pan. This ensures the brownies set properly and are easier to slice.
Cutting and Presentation
For clean cuts, refrigerate the brownies for about 20-30 minutes before slicing. Use a sharp knife, and for best results, clean the knife between each cut.
Cream Cheese Frosting: The Perfect Topping
No red velvet dessert is complete without cream cheese frosting. The combination of fudgy brownies with tangy cream cheese frosting is nothing short of heavenly.

Ingredients for Cream Cheese Frosting:
- 8 oz cream cheese, softened
- 4 tbsp unsalted butter, softened
- 1 ½ cups powdered sugar
- 1 tsp vanilla extract
Instructions:
- Beat the Cream Cheese and Butter: Use a hand mixer to beat the cream cheese and butter together until smooth and creamy.
- Add the Powdered Sugar: Gradually beat in the powdered sugar until the frosting is light and fluffy.
- Incorporate Vanilla: Add the vanilla extract and mix until well combined.
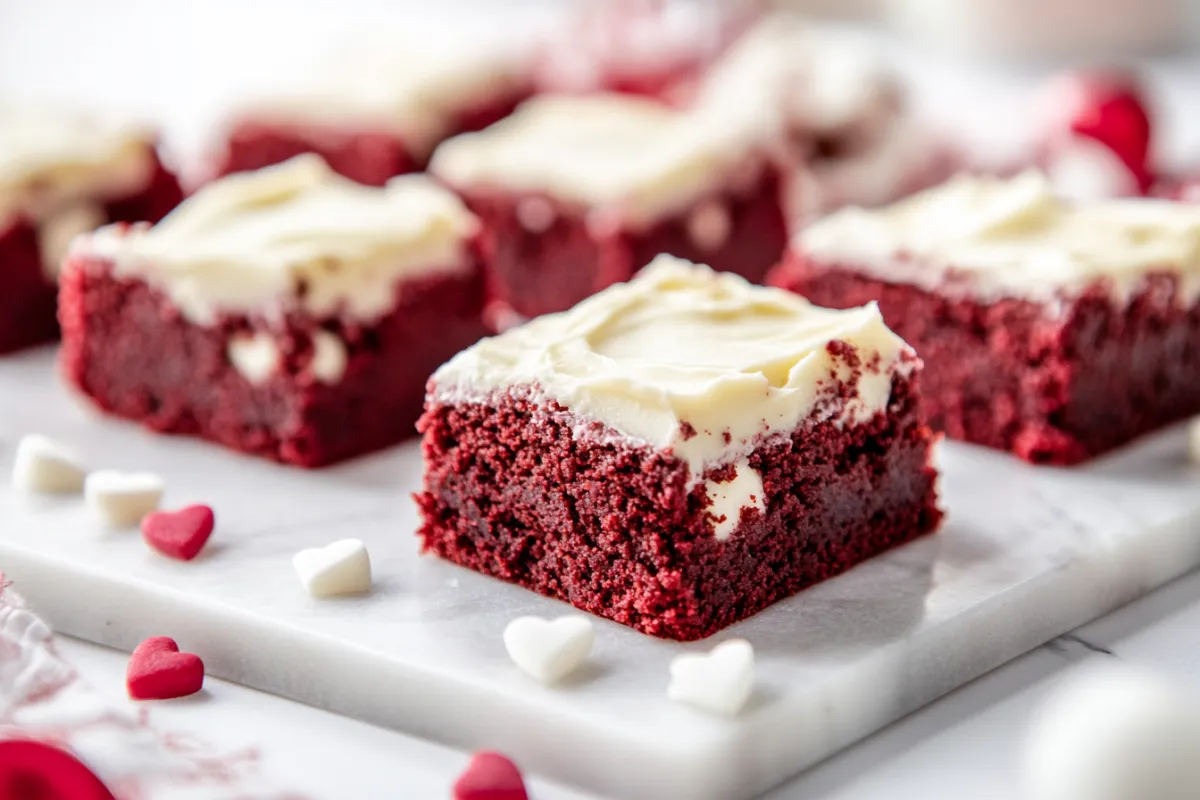
Spread the frosting generously over the cooled brownies for a deliciously rich finish. To decorate, consider adding sprinkles, shaved chocolate, or edible glitter depending on the occasion.
Decorating Options for Different Occasions
Red velvet brownies can be customized for any event by simply changing the decoration:
- Valentine’s Day: Use red and white sprinkles or heart-shaped toppers.
- Christmas: Green sprinkles or crushed candy canes add a festive touch.
- Birthday Parties: Try edible glitter or colorful sprinkles for a celebratory look.
Storing and Serving Red Velvet Brownies
To keep your brownies fresh and delicious, proper storage is key:
- At Room Temperature: Store in an airtight container for up to 3 days.
- Refrigeration: If the brownies are frosted with cream cheese frosting, keep them refrigerated for up to 5 days.
- Freezing: To freeze, wrap the brownies tightly in plastic wrap and place them in an airtight container. They’ll last up to 2 months in the freezer. Thaw before serving.
Serving Suggestions
Red velvet brownies are versatile and can be served with various accompaniments:
- Vanilla Ice Cream: A scoop of vanilla ice cream is a classic pairing for these rich brownies.
- Whipped Cream: A light, airy topping that balances the richness of the brownies.
- Fresh Berries: Strawberries or raspberries provide a refreshing contrast to the sweetness of the brownies.
Recipe Variations
There’s no need to stick with the classic version—red velvet brownies are ripe for customization. Here are a few fun variations to try:
- Red Velvet Cheesecake Brownies: Swirl in some cream cheese for a tangy, creamy layer.
- Red Velvet Oreo Brownies: Add crushed Oreos to the batter for a crunchy twist.
- Nutty Red Velvet Brownies: Stir in chopped pecans or walnuts for added texture and flavor.
FAQs About Red Velvet Brownies
Is Red Velvet Just Chocolate?
Although red velvet contains cocoa powder, it’s not strictly a chocolate dessert. The addition of vinegar and sometimes buttermilk creates a tangy, distinctive flavor that sets it apart from traditional chocolate-based brownies.
How Do I Achieve the Perfect Red Color?
The key to achieving a vibrant red hue is using gel food coloring rather than liquid. Gel provides more intense color without altering the consistency of the batter.
How Can I Make Gluten-Free Red Velvet Brownies?
To make these brownies gluten-free, simply substitute the all-purpose flour with a gluten-free flour blend. Ensure the blend contains xanthan gum to help the brownies hold their structure.
What’s the Best Way to Cut Brownies Cleanly?
For neat, clean slices, refrigerate the brownies for about 30 minutes before cutting. Use a sharp knife, and wipe the blade between cuts to prevent sticking.
By following these tips and variations, you’ll master the art of red velvet brownies in no time. Whether you’re making them for a special occasion or just as a sweet indulgence for yourself, these vibrant, flavorful treats are sure to be a hit.
For more delicious recipes, don’t forget to explore our homepage at Cheery Recipes!

